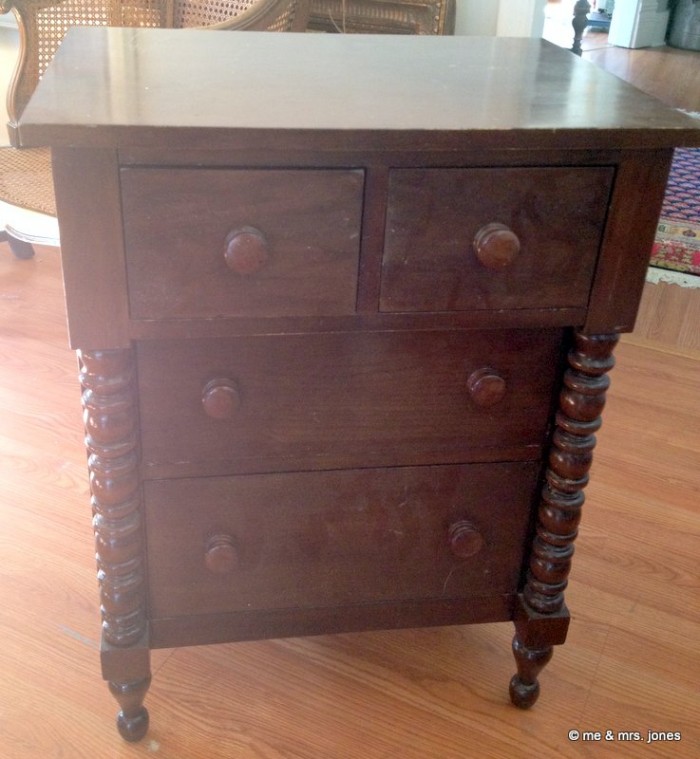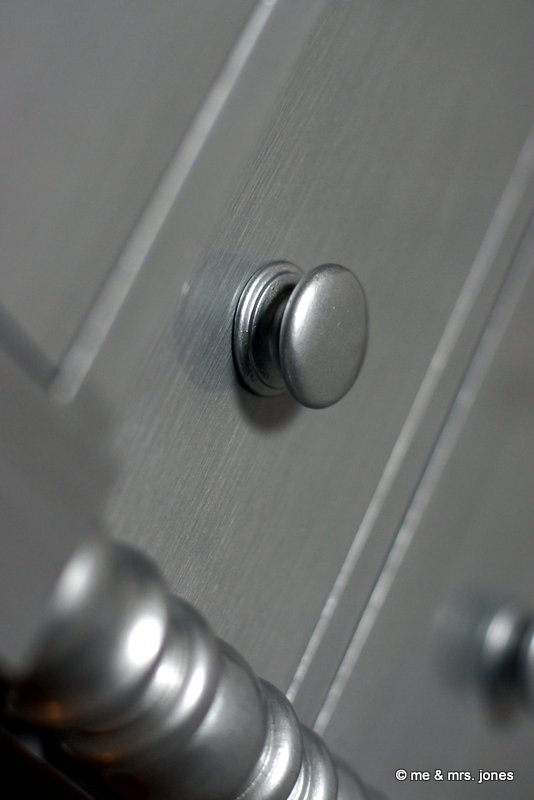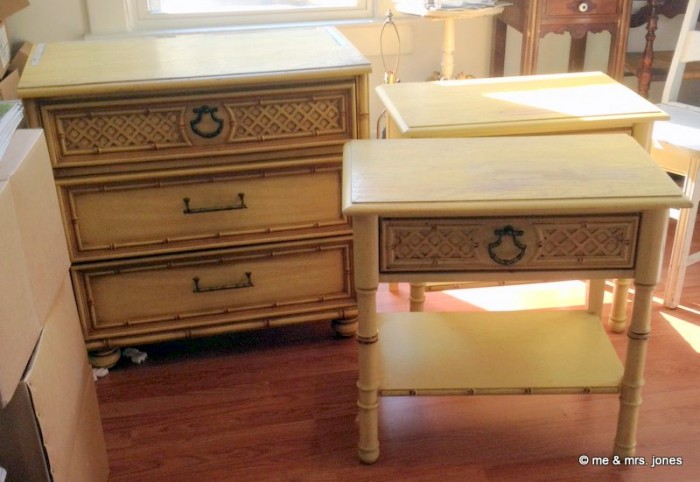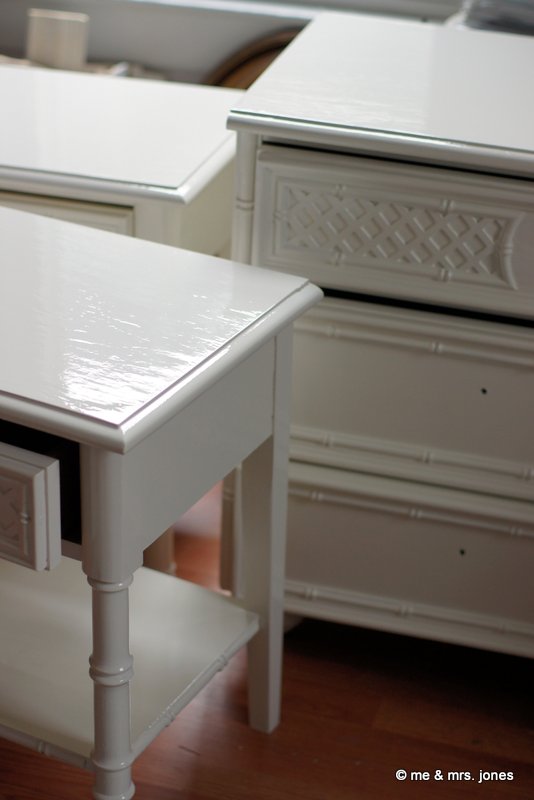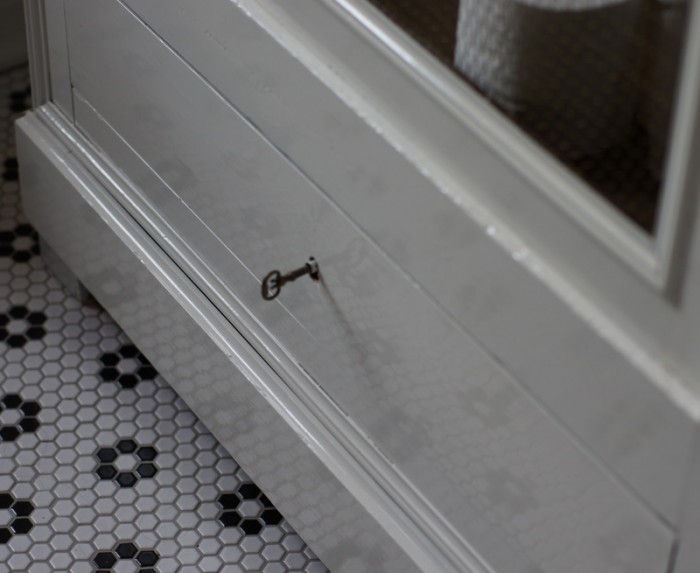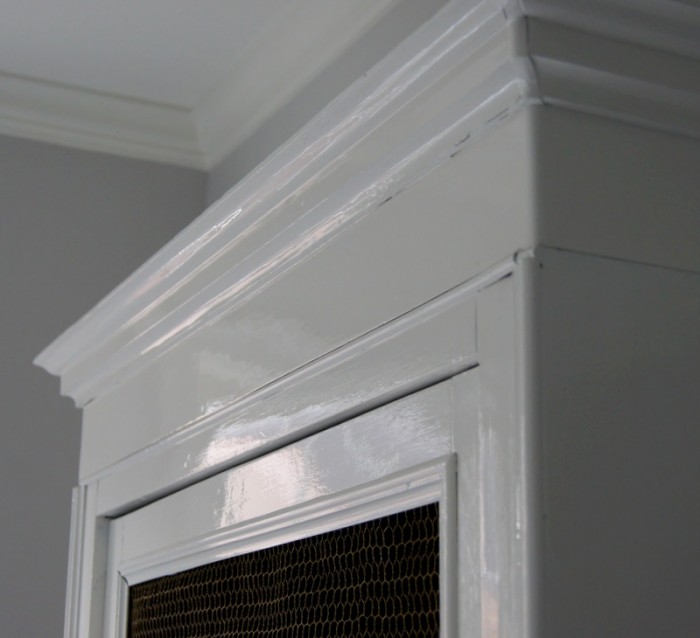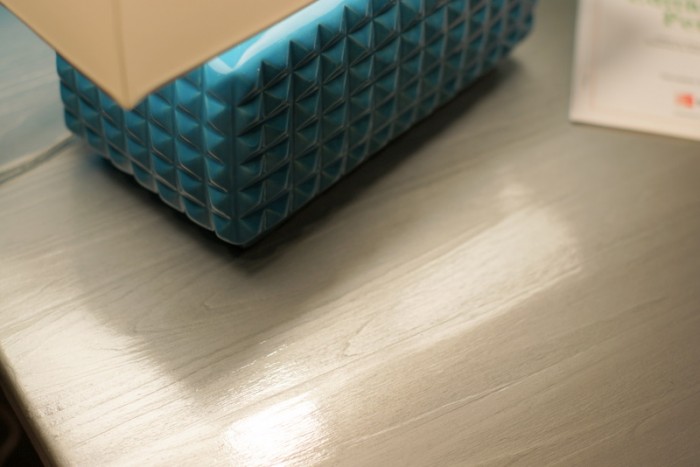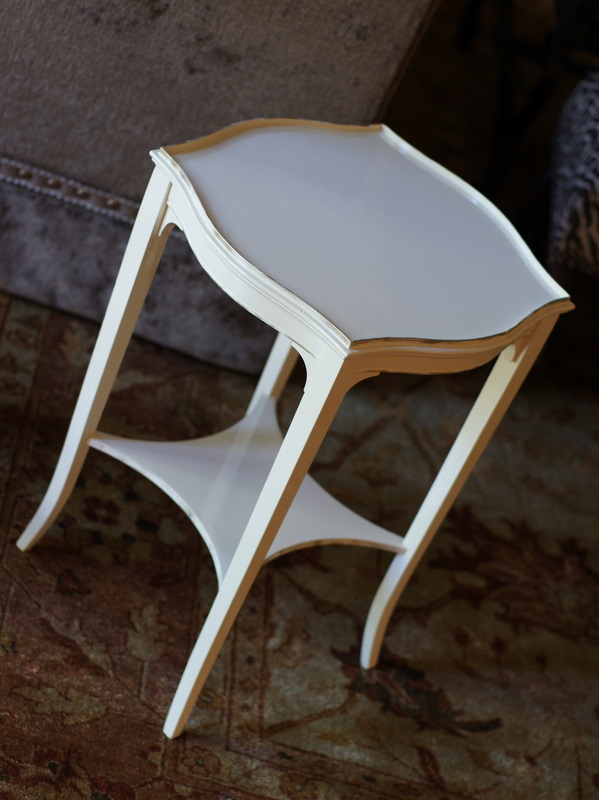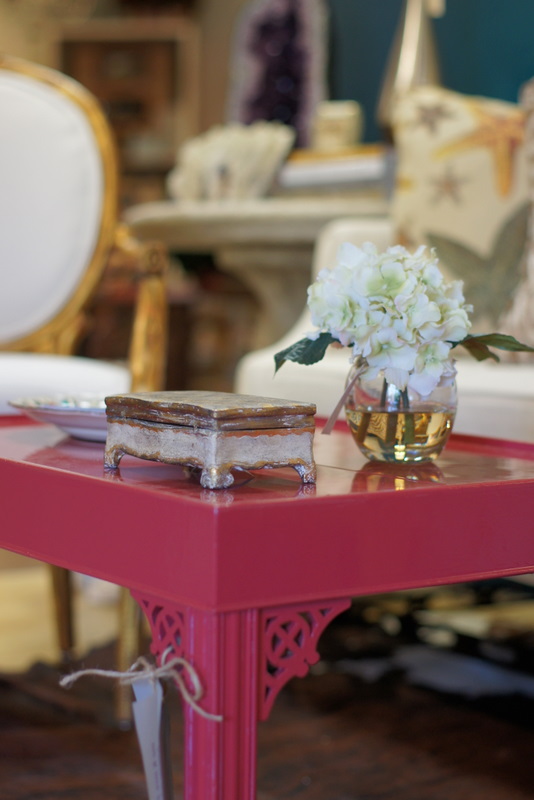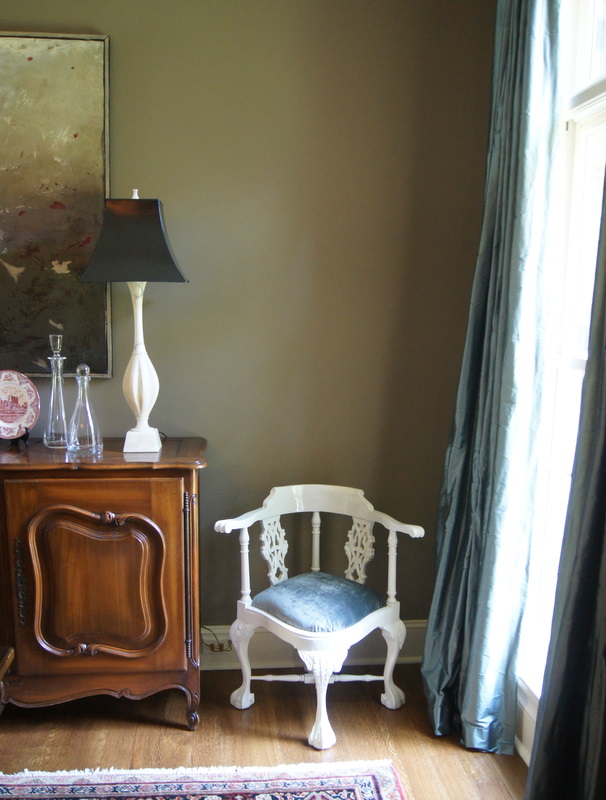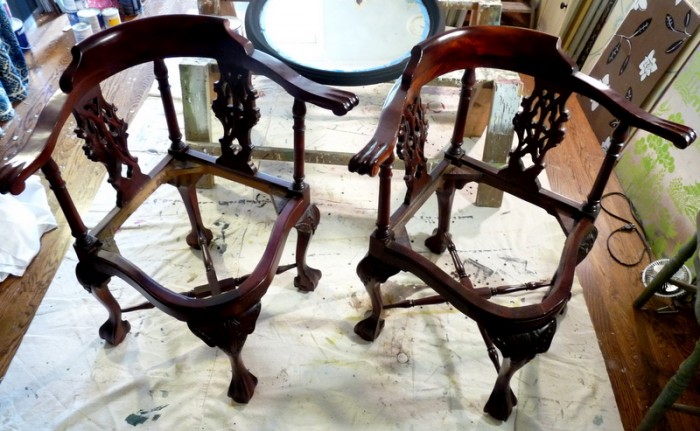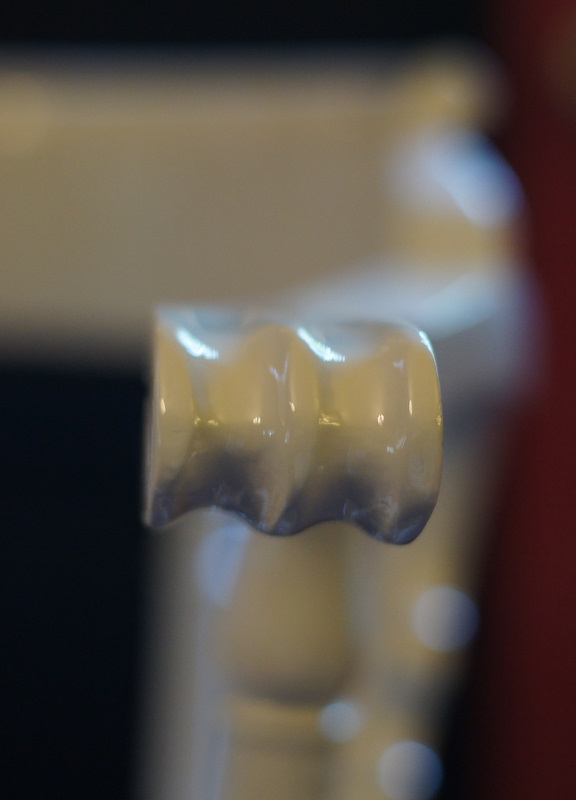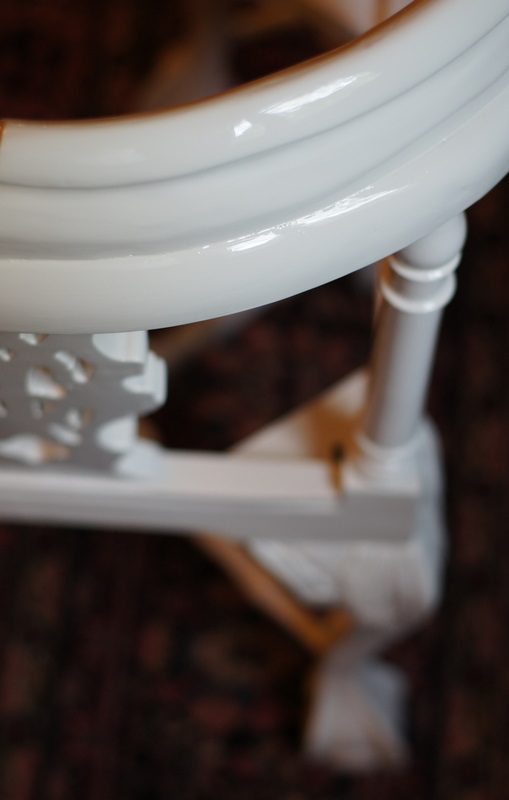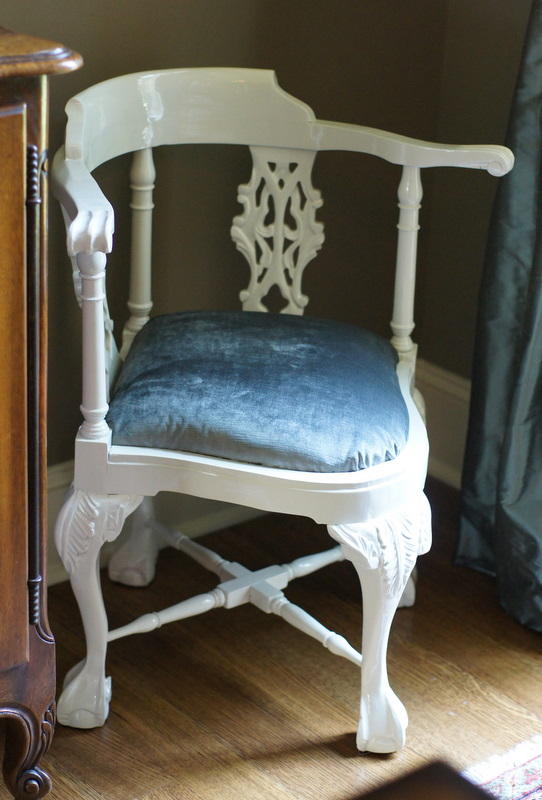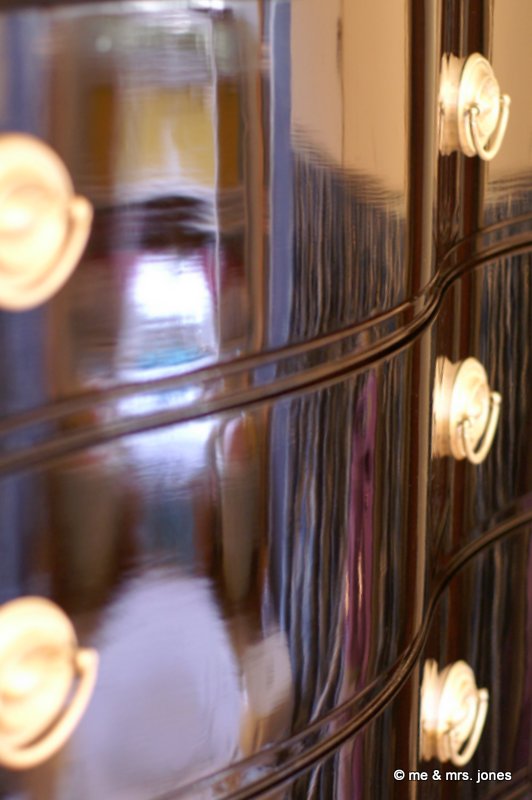
while mrs. jones adores and appreciates a low-lustre, matte look for painted furniture, sometimes the situation (or the client) calls for shine. not the gleam or sheen that comes with a waxed, rubbed, glazed or oiled finish, but a truly high level of lacquer-like glossiness.
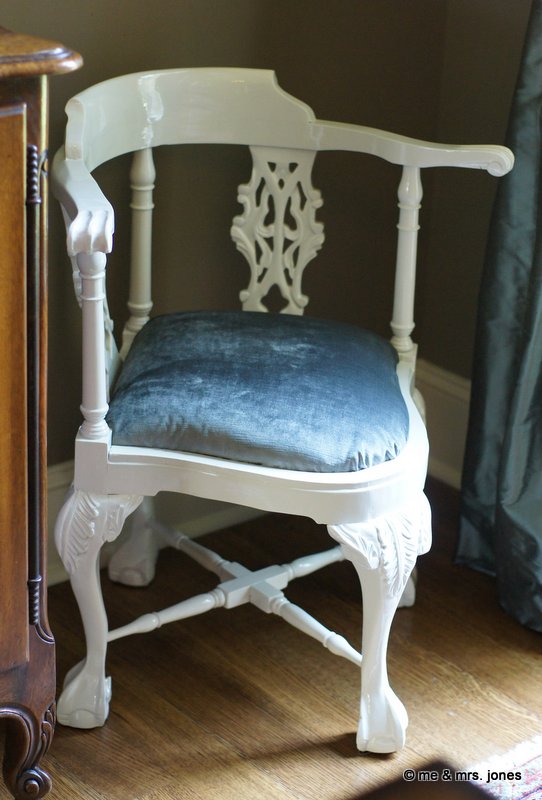
there are only two ways that i know to achieve this look…both require an oil-based finish, and therefore a ventilated, dust-free work space and a lot of patience. these methods are at the farthest reach of the “ease of use” continuum that has chalk paint® on its opposite end. but when high-gloss is what you want, nothing else will do! so here goes a little break-down for you…
key to have on hand are the primer and paint (and possibly topcoat) of your choice – read on for more details! – sandpaper in grits from 120 to 400, wood filler or brushing putty, a japan scraper or putty knife, freshly laundered fabric drop cloths (the plastic ones attract dust via static and tend to scrunch up into your wet paint, plus the fabric ones are reusable), tack cloths, a vacuum, swiffer-type dusting cloths, a new air filter for your hvac system, and a very very clean brush meant for oil-based products.
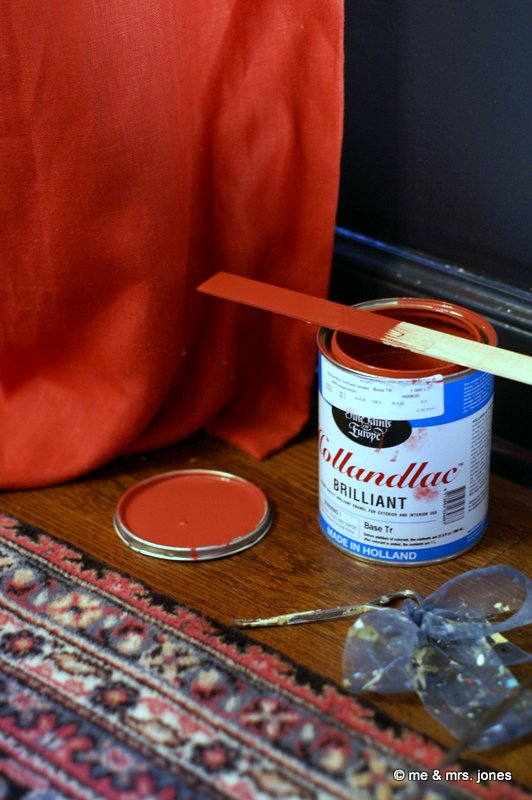
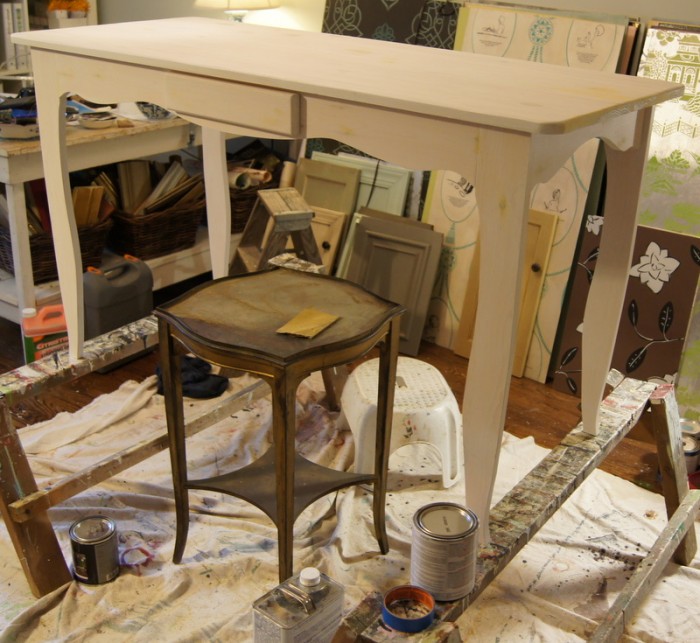
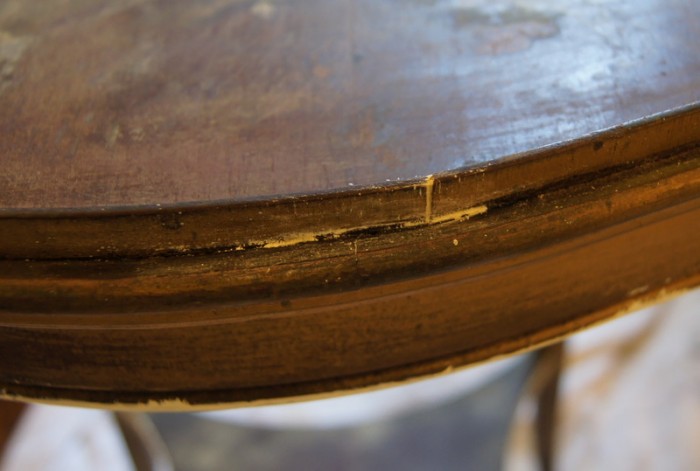
first, this is the perfect time to switch your air filter out for a clean one…your furnace will thank you! then, make sure that the surface you’re painting is prepped and as smooth as possible. (because you’ll be sanding and priming, your piece will not need to be stripped.) fill any holes, gouges, or grain with wood filler or brushing putty. sand smooth with 120 and then 220 sandpaper. wipe down with a tack cloth to remove sanding dust. prime with a best-quality enamel underbody, such as the ones made by fine paints of europe or benjamin moore. sand again, moving to a finer-grit paper as you go, ending with a 400-grit rubdown.
when you are through sanding, wait an hour at least for all the dust to settle. (a longer wait is advisable, otherwise you will end up with “floaters” that settle in to your wet paint.) vacuum or replace your drop cloth with a clean, dust-free one, swiffer or wipe down your entire work area with a damp microfiber cloth, and put your doggies outside or in their kennel-condos. because you may have kicked up a little more dust moving things around, wait a little while longer, and then carefully go over the surfaces you’ll paint one more time with a tack cloth, removing every possible bit of grit. (when you take the tack cloth out of the package, unfold it completely and then gently bunch it up in your hand, re-bunching to expose a clean area every few passes.)
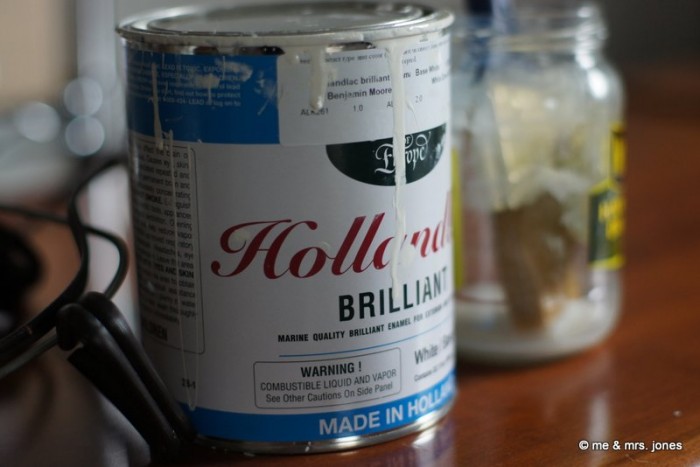
now you’re getting to the fun part…the color! you’ll be working with either oil-based satin finish enamel, such as benjamin moore’s impervo* (which will require a topcoat of high-gloss polyurethane), or fine paints of europe‘s hollandlac brilliant (after which you’ll be done.)
(when you’re looking at paint labels, the word you’re looking for in gloss is leveling. that means the paint, due to its solvent content, will even out or “lay down” and not hold any brushstrokes, giving a mirror-like finish. the high solvent content keeps the paint “open” longer so that it can level, but by making it much slower to dry, it’s much more vulnerable to dust, dog hair, and other little gremlins getting in to the wet paint.)

which to use? there is one important consideration: color. the high-gloss topcoat that you’ll need to use has a very distinct amber tone to it, and will dramatically alter lighter colors. if you’re using deep blue or green, or chocolate brown, or black, you’ll be fine using an enamel with high-gloss poly, and this has the advantage of being more readily available locally. but this topcoat over any lighter paint colors will result in a noticeably-yellowed finish. so, for lighter colors, i use fine paints of europe’s hollandlac brilliant. the hollandlac is expensive, but combines the two steps into one, and so saves you time (and the math works out about the same vs. buying both layers.)
if you don’t have a fpe dealer close by, just call emmett fiore, their colorist. he will send you the appropriate amount of hollandlac brilliant, tinted to the color of your choice. he and his cohorts are as fabulous as their paint, and can match any hue in any fan-deck. no other brand has the depth of gloss that fpe does. (and mrs. jones does not receive so much as an extra stir-stick for this endorsement of their product…having tried everything out there for gloss, this is my unbiased, un-compensated opinion.)

(*putting a high-gloss topcoat over an acrylic or latex enamel has not been successful for me…but i would love to hear other thoughts on this! i’ve always ended up with a base coat that crinkles up once the topcoat is applied. heartbreaking, and worse – starting over! )
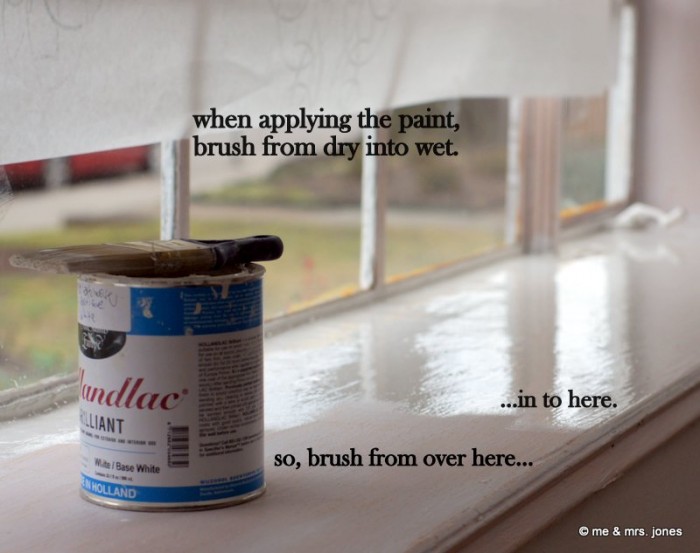
with a clean brush (i love the shortcut from wooster…but this is a chance to break out your best purdy or omega, too) and thoroughly stirred paint, lay the color on, avoiding excess brushing but finishing each section or surface with long, smooth strokes. a brush that does not carry enough paint to the surface will result in a skippy, orange-peel looking finish, but over-loading your brush causes “sagging“, so take care to get a nice, moderate amount of paint on just the tips of your brush bristles…dipping the bottom 1/2 inch into the paint should be just right. as you apply paint, brush from an unpainted area back in to the wet paint you’ve just put on…this is important, so that you won’t over-brush the paint or thin out what’s on the surface:
when you have finished, clean your brush with the barest amount of mineral spirits possible, leave the room and don’t come back until the next day. i’m serious about this – you’ll just stir up dust by walking through, and the piece will look so beautiful you’ll want to touch it…don’t. the products you’re using will require at least an overnight dry in between coats…walk away.
once the paint is completely and thoroughly dry, give it a light sanding with 400-grit paper. (in our memphis humidity, drying can take up to 72 hours before you can safely sand again.) this will smooth out any little mistakes and will give the second coat a little “tooth” to hold on to. once again, wait for the dust to settle. vacuum or swap out your drop cloth, run the swiffer pad around, and wipe down the piece with a tack cloth.
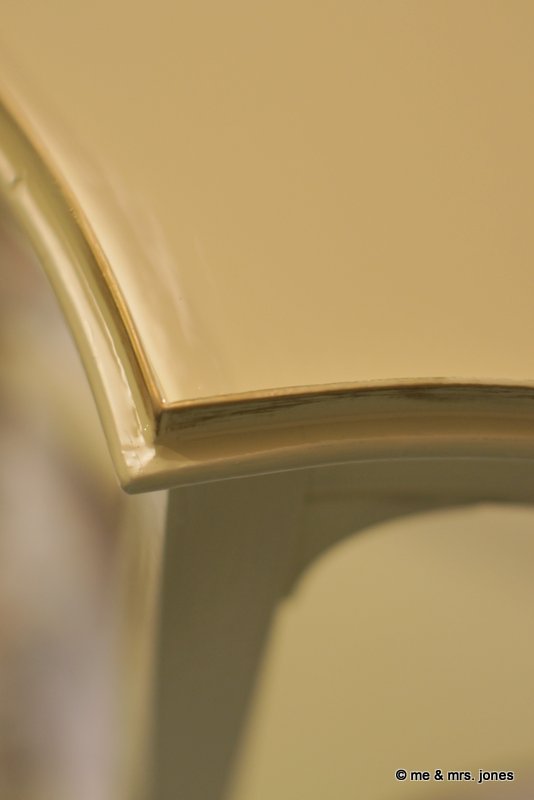
apply a second coat of paint, same way. if you’re using hollandlac, once your piece is dry, you’re done! if not, now you’ll follow the same instructions as above for your topcoat: light sanding with 400, clean up all the dust, tack the piece. with a clean, dry (no solvent/cleaner dripping out) brush, apply the high-gloss poly, taking care to make sure that you’re covering everything smoothly and evenly. clean your brush, and step away overnight. you may need to repeat these topcoat steps…use your judgement when everything is dry. if you’ve missed places or it needs more protection, add another coat.
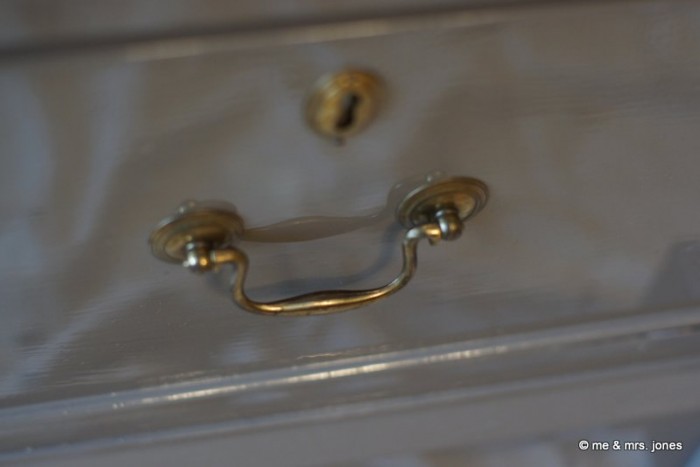
so, a quick review: sand & fill, clean & tack, prime. sand, tack, paint. repeat. repeat again for polyurethane topcoat.

now, put the hardware on, put the drawers back in, and enjoy!
