
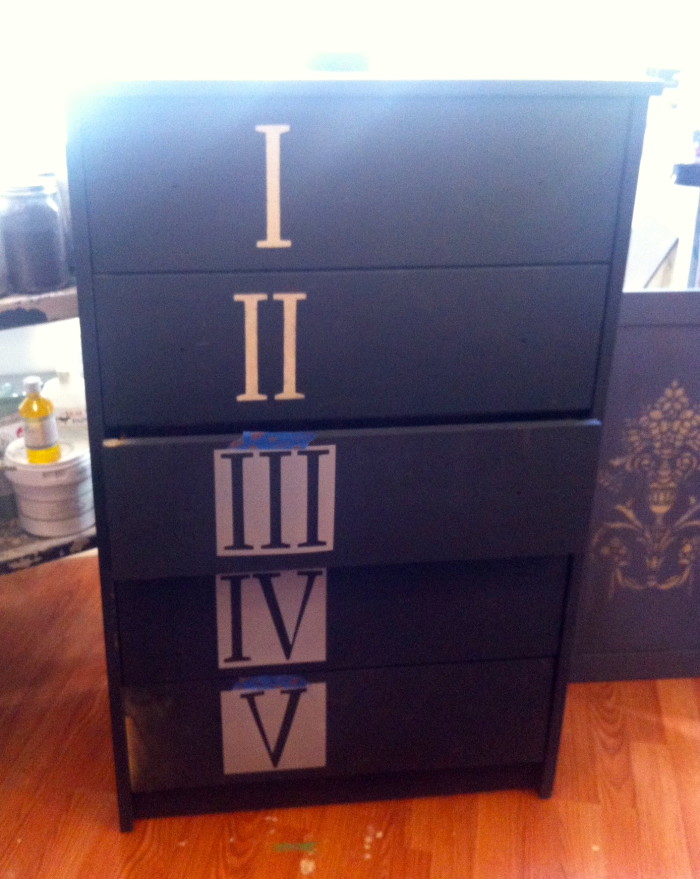
the jones boys recently helped clean a friends’ attic in exchange for a few pieces of furniture…a fantastic deal (for mrs. jones, at least.) one of the chests was something a novice woodworker had made, and after much puzzling, we found that each drawer only fit in one particular spot. when we finally had them right, i said ‘that’s it – we are numbering these drawers!’ to which charlie brilliantly said: ‘mom…what about roman numerals? that might look cool.’
so with a little help from my lovely friends at maison de stencils, roman number templates were soon at hand.
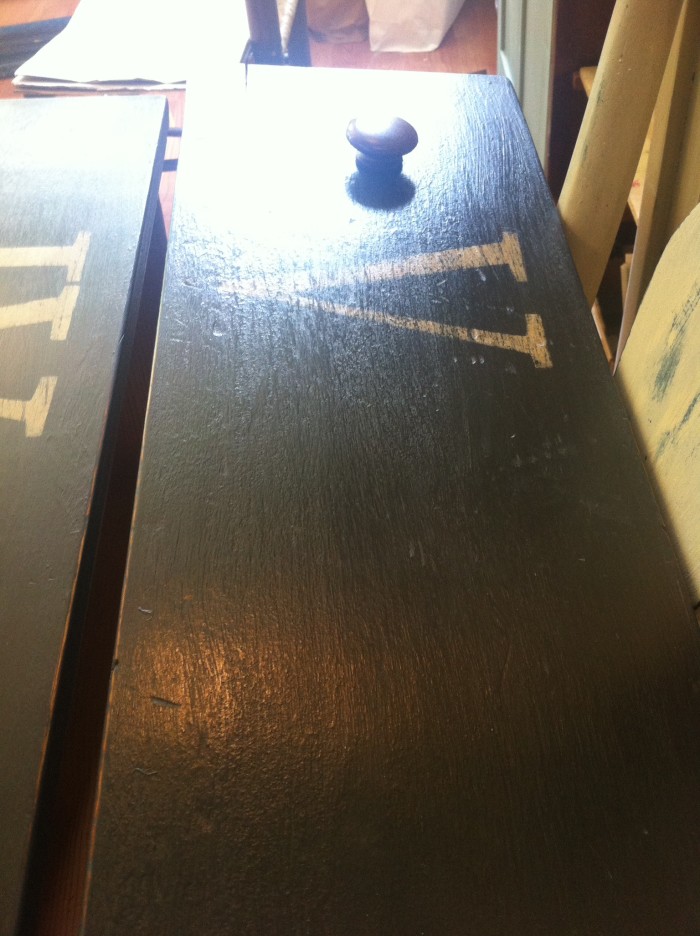
we used water-based paint in a deep blue, covered by a coat of dark gray…a buff off-white for the stencil, and then clear and dark brown tinted wax to seal the paint and add patina. this was a piece in progress when we held a waxing workshop at the studio, and the attendees challenged me to see how far a quarter-cup of wax would go…
using the best brush in my arsenal, i was able to get the whole dresser done with less than the allotted quarter-cup. (just ask…there were plenty of witnesses.) because the brush doesn’t absorb any wax – the way a cloth does – and the bristles are made to firmly but gently sweep the wax into the paint, you can use a very sparing amount and have an easier time of buffing with a totally gorgeous result.
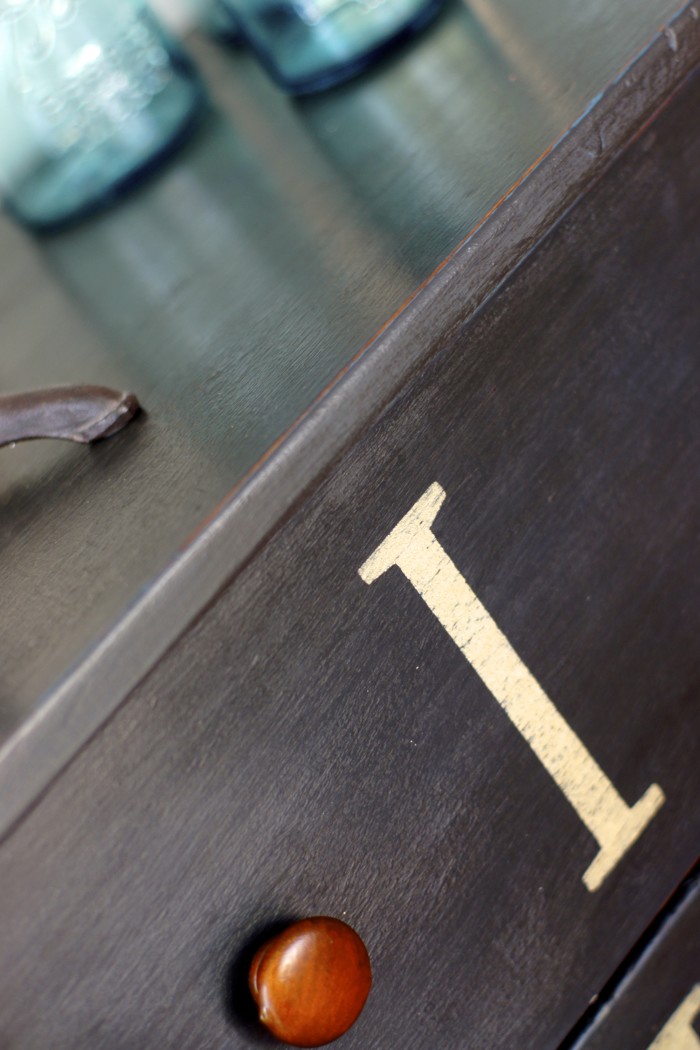
after applying the clear wax, we rubbed the edges gently with 220-grit sandpaper, ‘easing’ the paint back for a bit of distressing…i had already softly distressed the stenciled pattern. then we brushed on a coat of dark brown wax to add more age.

(we left the knobs ‘as is’ for contrast and warmth.)
one final hint…when waxing, it’s easy to forget to let the wax dry overnight and then give it a good buffing, or polishing. but that’s when you bring up the gleam and bring the paint to life! a nice buffing also helps harden the wax and melds it together with the paint.
Katherine says
Nice – great finish and colour selection. I like how the numerals are brushed across the surface and not completely filled in. A nice aged look.